Adding an Image from a Local Camera to a Personnel Record
You can add an image to a Personnel record by capturing it using a locally attached camera (such as a USB camera or a laptop webcam) attached to your Web Client.
You can add one image file at a time. The formats supported are .PNG and .JPG. The image file is converted to .JPG format and is stored in the C•CURE 9000 database. The size of the image is compressed to match C•CURE 9000 limits.
To Capture an Image File from a Local Camera and Add it to a Personnel Record
|
1.
|
From the Personnel Images tab, select a camera from the Available Cameras drop-down list. |
|
2.
|
Click Capture Image from Camera. |
(The first time you do this, a Microsoft Silverlight dialog box appears asking "Do you want to allow camera and microphone access?" Click Yes to continue.)
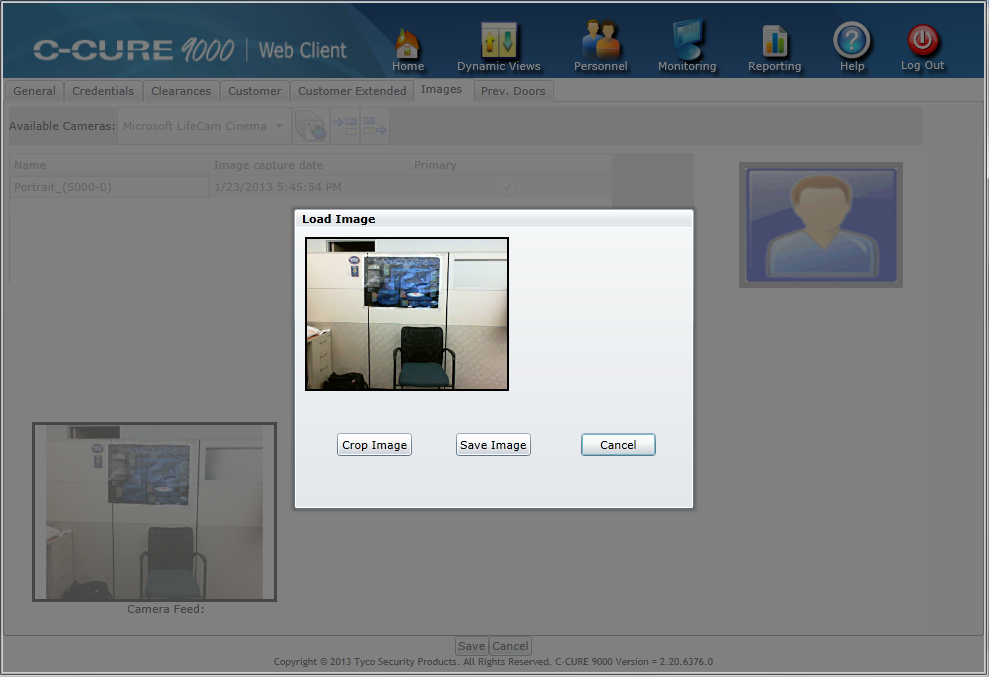
An image from the camera is displayed on the Capture Image dialog box.

|
3.
|
The Capture Image dialog box offers three choices: |
|
■
|
You can click Save Image and the image as displayed is converted to .JPG and saved to the C•CURE 9000 database. |
|
■
|
You can click Crop to resize and re-orient the image by clicking the mouse and dragging to create a rectangle, then moving and resizing the rectangle with the mouse. When you are satisfied with the image selected, click OK. |
|
■
|
You can click Cancel to cancel the capture of the image. |
|
4.
|
If you did not cancel, the image is converted to .JPG and saved to the C•CURE 9000 database. |
|
5.
|
If you want to make the new image the Primary image for the Personnel record, click the check box in the Primary column. |
