To enable the C•CURE 9000 Web Client access to your C•CURE 9000 server, you need to install the Web Client software on your C•CURE 9000 Server or on a system that has an IIS Web server that can communicate to your C•CURE 9000 server.
To Install the Web Client Software
| 1. | Insert the C•CURE 9000 installation DVD into your DVD drive. The Installer Dashboard appears. |

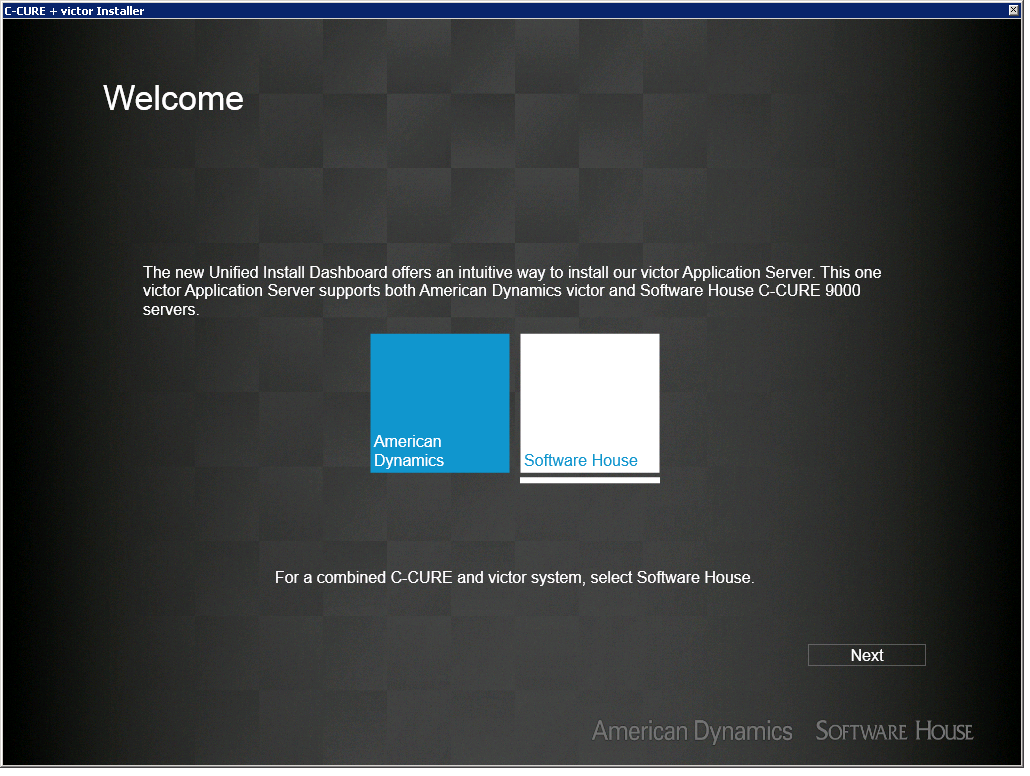
| 2. | Select Software House and click Next. |
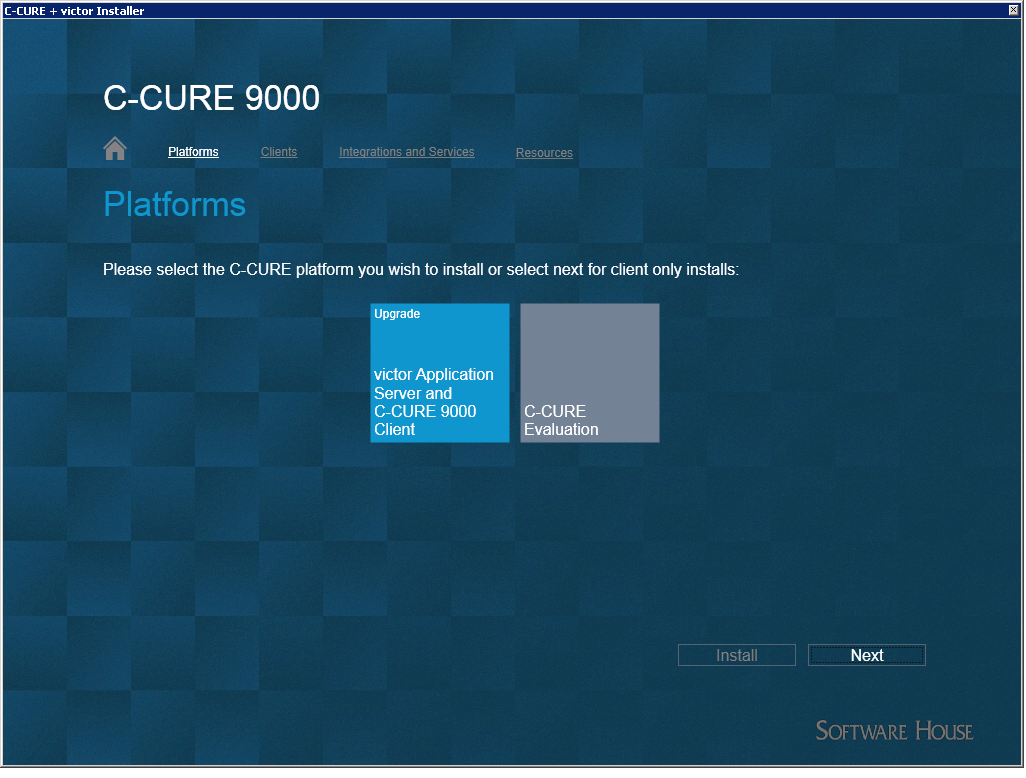
| 3. | Click Integrations and Services. |
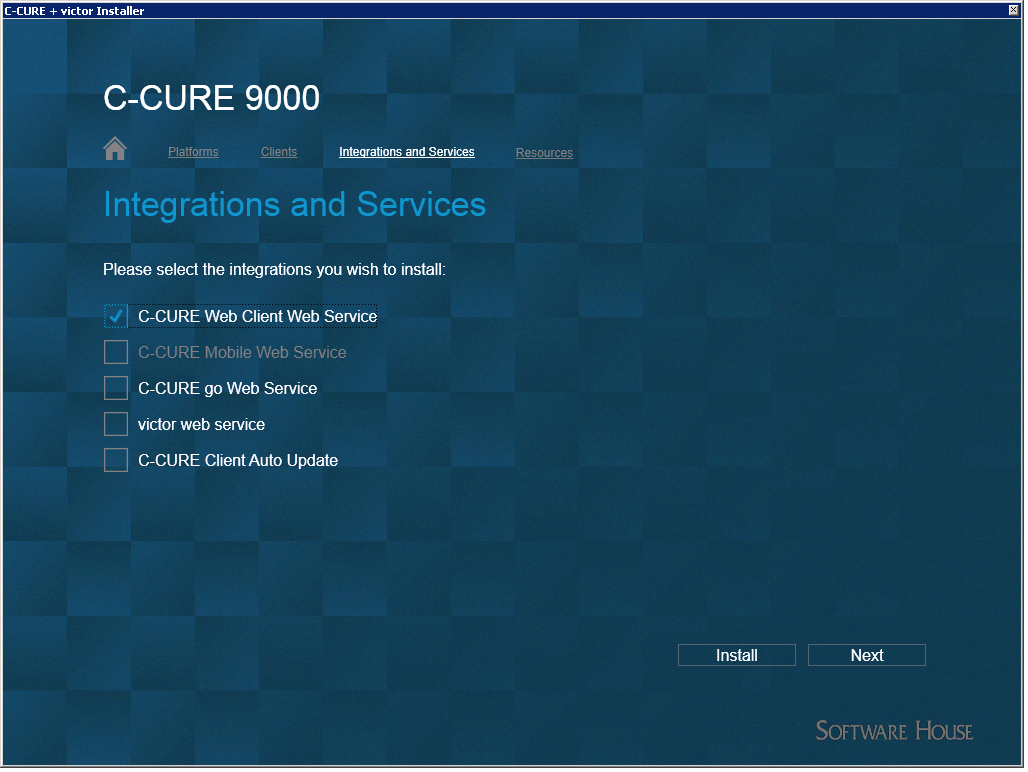
| 4. | Select C•CURE Web Client Web Service. Click Next to proceed. |
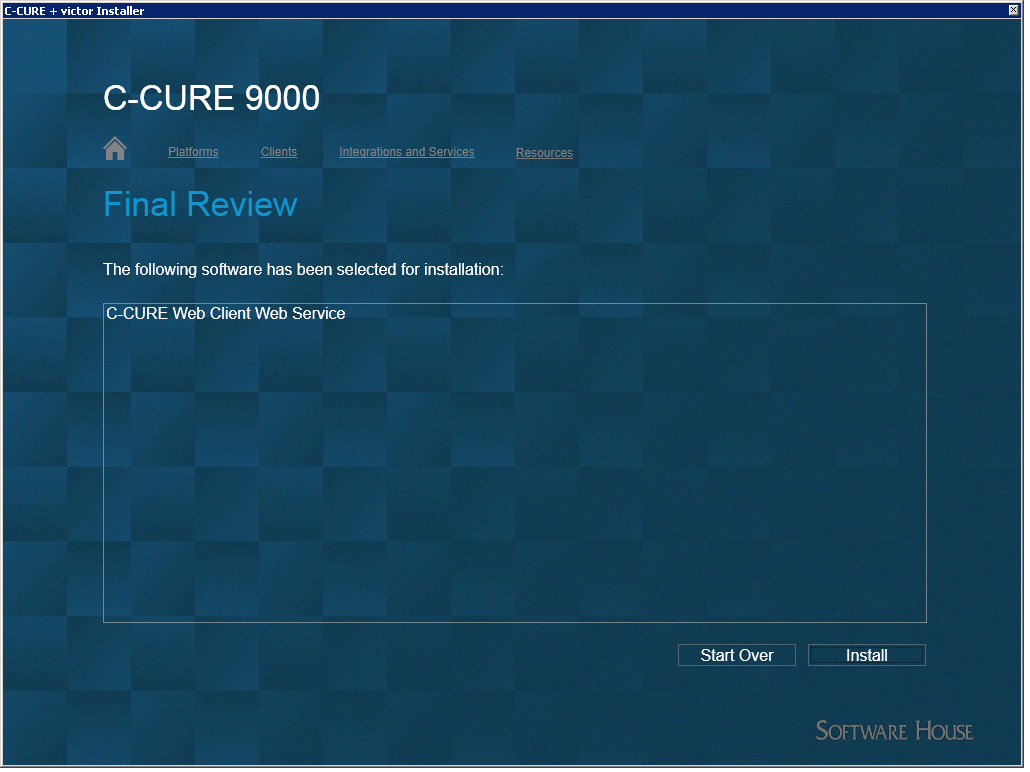
| 5. | Click Install. |
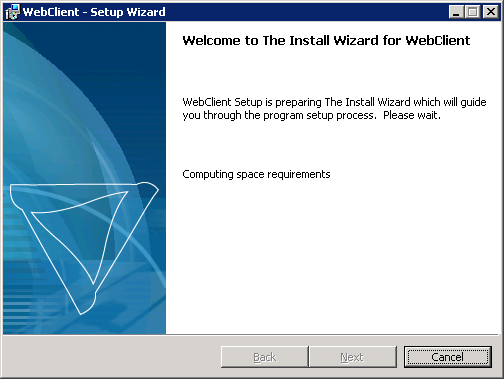
| 6. | Click Next. |
| 7. | The License agreement screen appears. You must accept the license agreement to continue with the installation. If you choose "I do not accept the terms in the License agreement," the installation program terminates. Review the License agreement carefully, using the scrollbar to view the entire agreement. You can click Print to print a copy of the license agreement. |
| 8. | When you are ready to approve the license agreement and continue with Installation, click "I accept the terms in the license agreement" and click Install. |
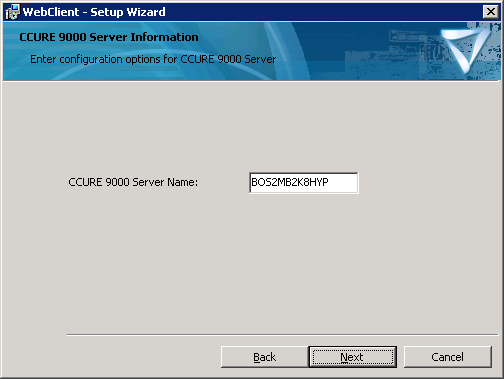
The Server Information screen appears. The name of the C•CURE 9000 server is displayed. Verify the server name and click Next.
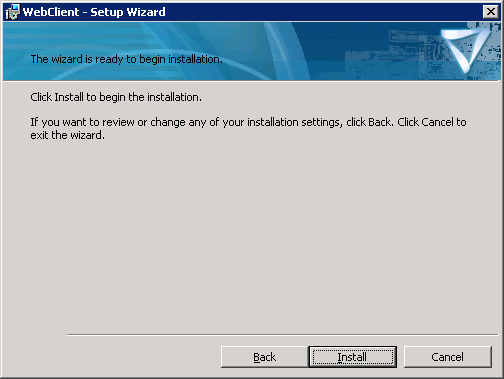
| 9. | The Ready to Install Program screen appears. You can click Install to begin the installation. |
| 10. | The Completed message appears indicating that installation has completed. Click Finish to close the Install program. |
If you want to enable the SSL Encryption option, see Enabling SSL Encryption for the Web Client.
|
NOTE |
Software House does not recommend changing the name of the C•CURE 9000 server after installing the Web Client software. If you need to change the name of the server, you should:
|